This page will document my trial and error proccess of creating repeatable vehicle movements in unreal engine.
hello! this blog in a work in progress, check back to see if i've figured out html yet!
Vehicle Rigging
Vehicle Rigging in Unreal Engine
To be able to create a mock-up trailer, I needed a car asset with movement I could animate.
There's two main ways to do this, one, using Unreal Engines "choas vehicle" plug-in: This allows you to create a vehicle that can be controlled in real-time. A majour plus of this approach is that theres no animation needed, as it all happens procedurally, aswell as that it has decently accurate destruction physics, enabling realistic looking damage and crashes.
However, I major downside to this technique is that the recorded movement is not editable, therefore every time a change needs to be made to the movement, the whole sequence must be re-recorded.
The other main approach instead approaches vehicle animation in a more traditional technique. A movement path is set, which the asset will follow at a set speed. This would usually result in alot more work, as each movement, such as suspension and roll needs to be animated individually. Fortunety, theres multiple tools availble that make this proccess alot easier, such as 'Cinematic car rig' by Madgaot Studio However, this asset is expensive! Luckily for me theres a simpler, but free! version: 'One Click Control Rig' by Post Proccessed.
21/01/2025: After many failed attempts at setting up a basic car rig over the past few months, I finaly had a go at setting up Post Proccesed new plug-in. During this proccess, I was reminded just how much I hate using Blender! After an entire days work, I finaly have a riggedf vehicle I can use for animation! [writing this as if ive already done so, in reality I'm still battling blender lol.]
Initially, I attempted to set-up a different car asset than used in the tutorial. However, after following the first steps of Post Proccessed's tutorial, I was unable to get the wheels to stay in the correct possition when upscaled using the :UE4 Vehicle Rigging add-on

I of course managed to still mess this up a few times, with my first blunder being right at the end of the blender proccess, as once I'd imported the model into unreal engine, I realised I hadn't merged all of the body assets correctly, resulting in only the outer body layer rotating :/
So back to blender to start again from scratch, in an attempt to correct my mistakes!
This time I managed to mess it up for a different reason! :D Instead of the body having its own bone, I'd inadvertantly made the body bone a child of one of the wheels, rather than it's own controllable bone.
Time to follow the tutorial through yet again, oh boy!
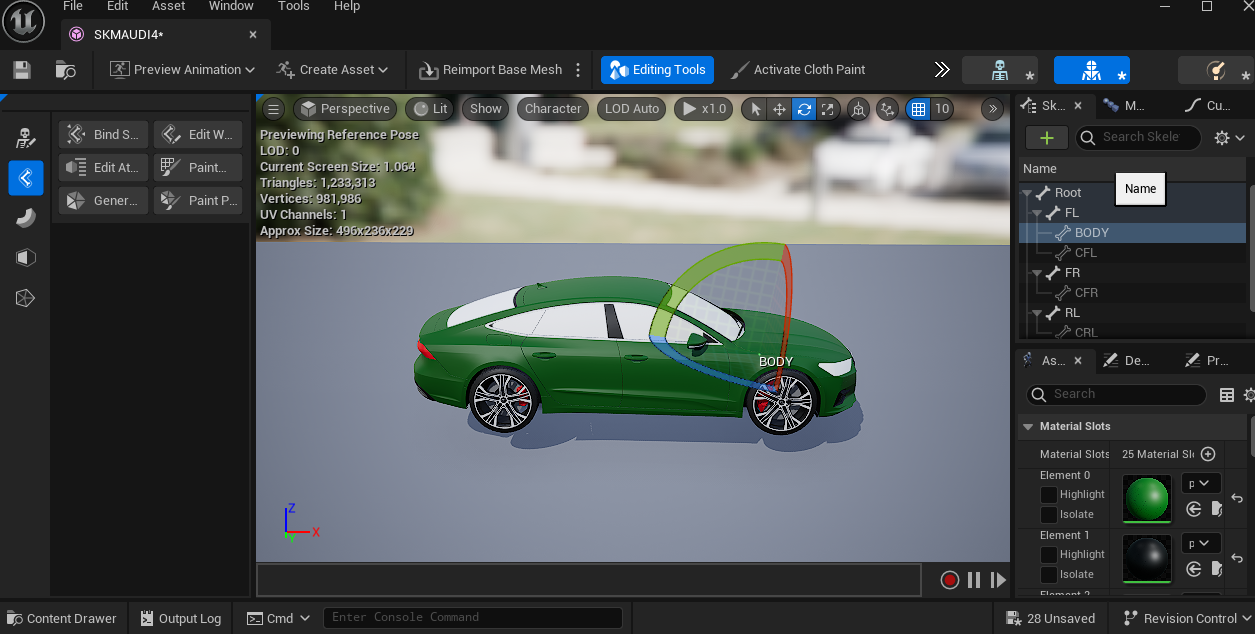
I did it! It only took an entire day! :P
I've finally got it working in unreal engine!
I'm not curently quite sure why procedurial suspension isn't working right (or why those bumps in the road aren't hidden as they should be) but I'm sure I'll iron that out once I keyframe the movemnt using a actor rig rail, rather than simple keyframes.
Now onto the next step, properly texturing the car and getting it set up in a more interesting scene, along with a police car chasing it!
22/01/25
I've managed to replace the base materials with Epic's automotive materials , it's looking good!
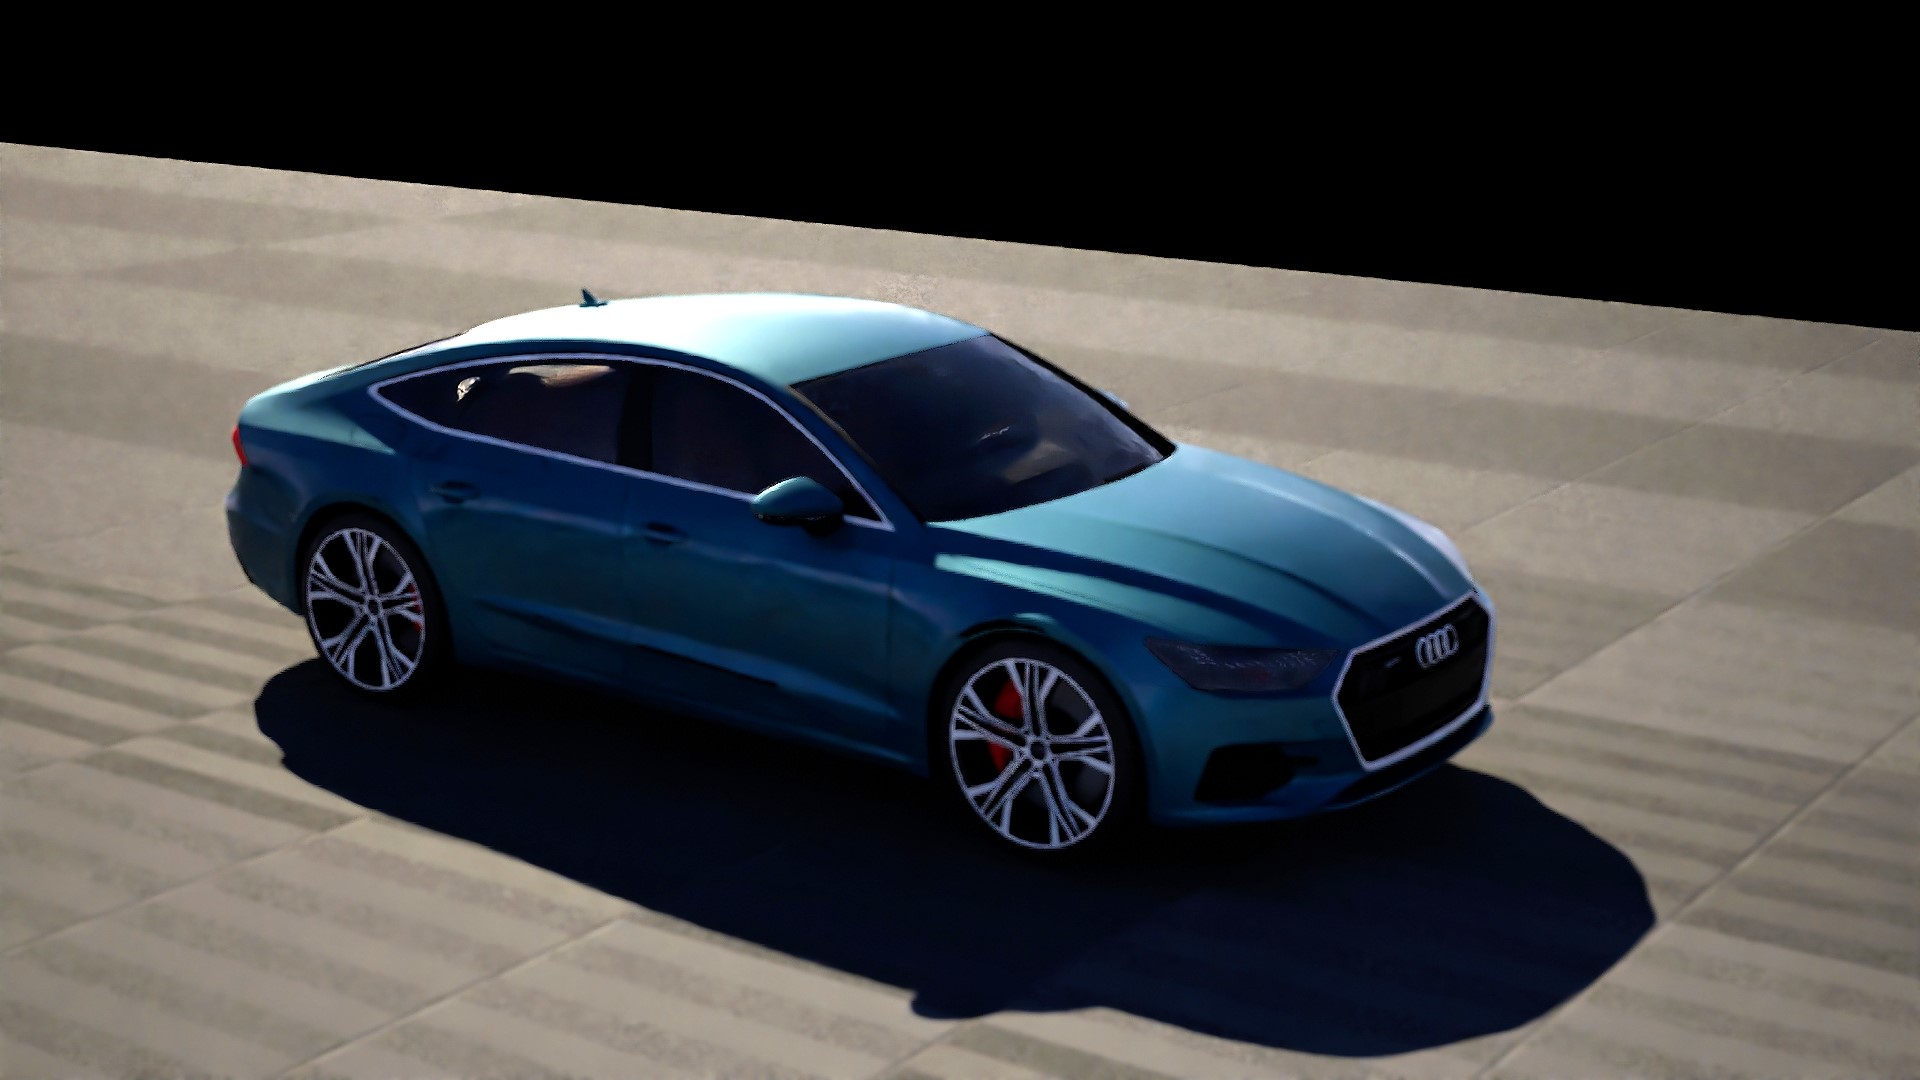
Time to drop the car into a new scene!
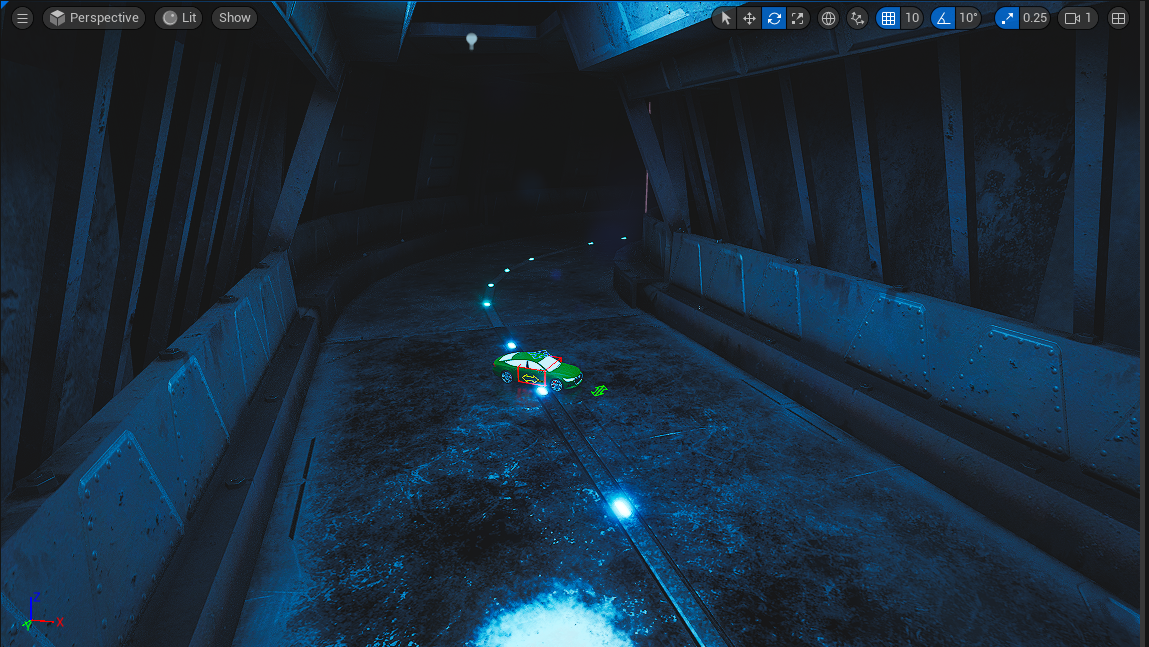
hmmmm, is the car too small, or the scene too big!? xD
Time to take a break from the pracitcal stuff, my measely 16GB of DDR4 ram proved too weak for an unreal engine + chrome combination. :p
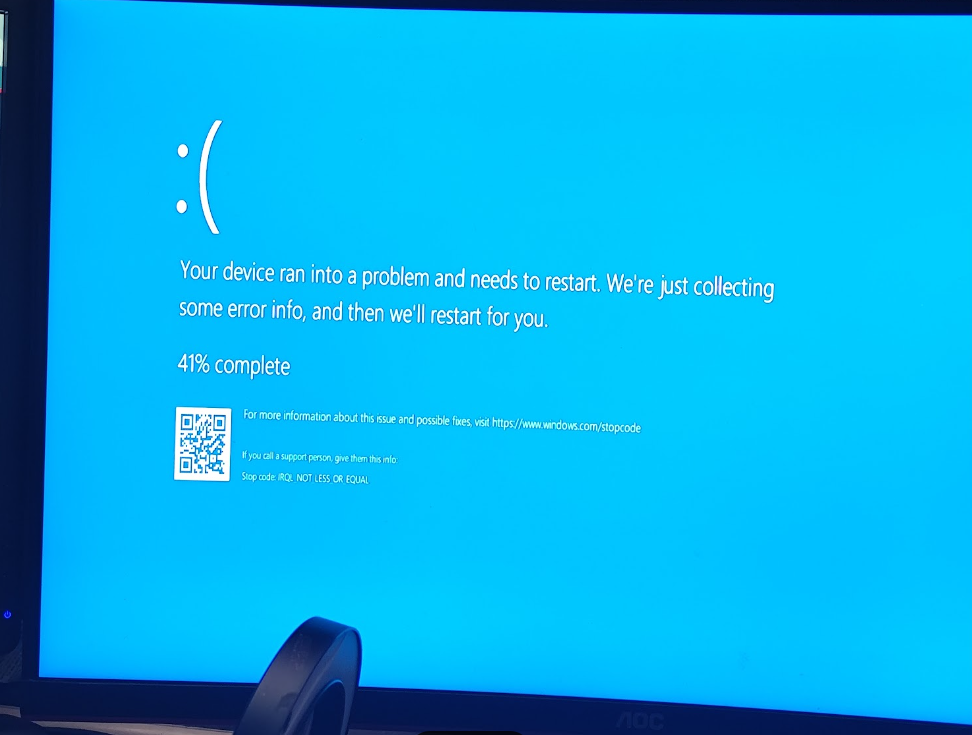
I've forked out the money for a upgrade to 64gb, so I'll continue once I've got that installed!